You can upload more than 40 photos; some do above 100. The more the better.
Follow our photographical advisory to present your car and take the best possible photos yourself.
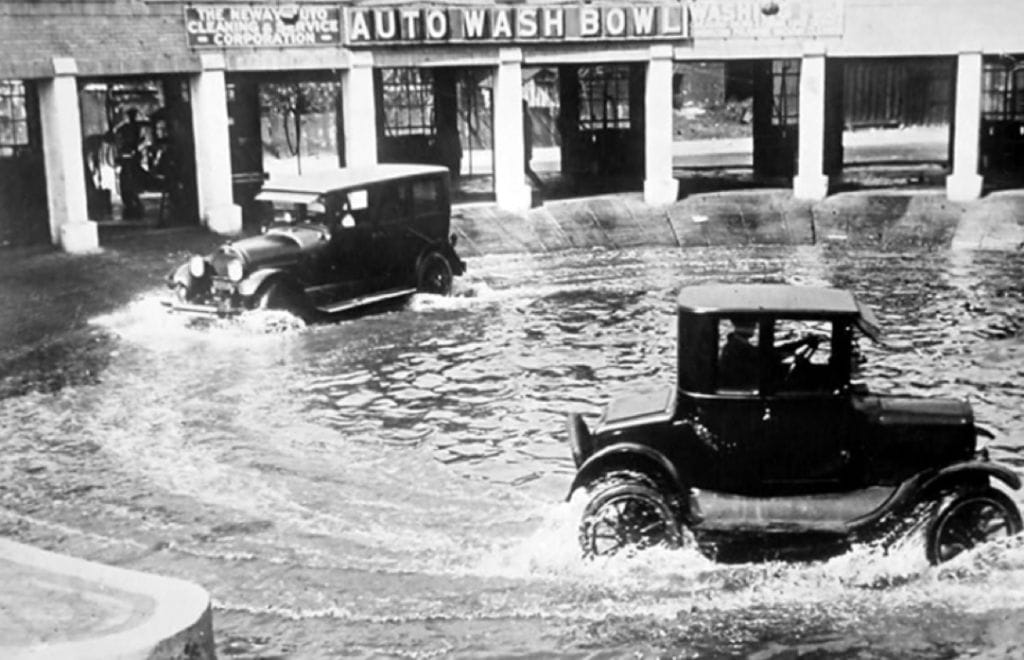
1. Wash your car.
photo courtesy of theoldmotor.com
Wash and dry outside, then vacuum and clean inside.
Remove everything that does NOT belong to the car, unless dirt is a selling point.
Clean as possible is enough, no professional, detailed finishing necessary.
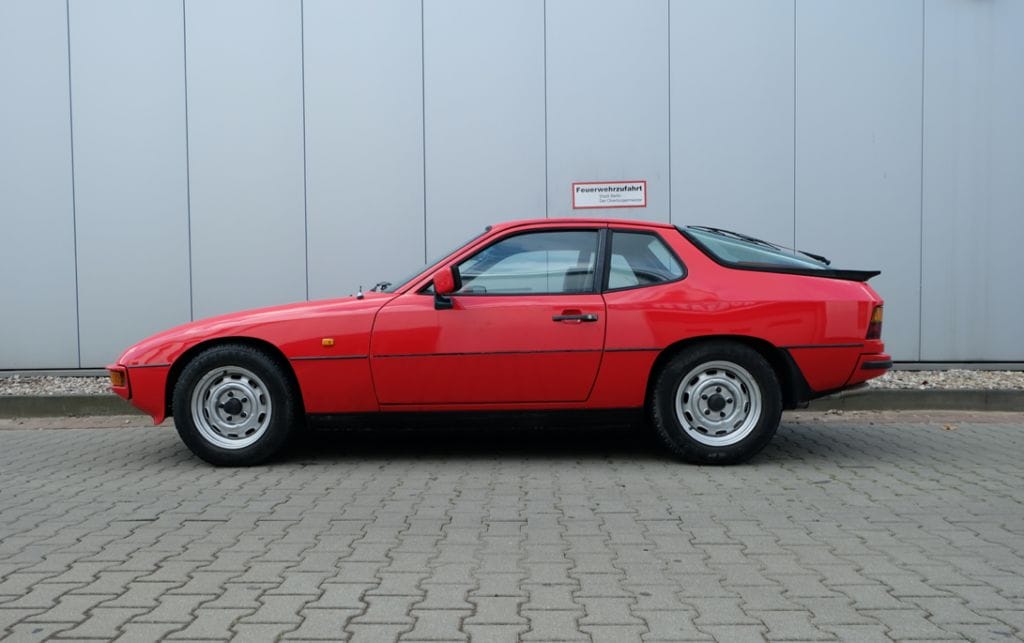
2. Get it outside.
Cars look better when they are outside.
Colours and shape look more natural and it appears as in real life.
A car shown in real life zooms the viewer into the scene and makes him feel closer to the car.
Take it out of the garage, your barn or the living room.
Only if the car is not movable or you are in a professional photography studio, stay inside.
3. The right light is the key.
Usually light is perfect in the morning hours or late afternoon.
Avoid pictures in direct sun. It`s hard to get a clear picture.
Pictures in gold steel glistening dawning sun are beautiful, but don`t forget to present your car.
Even cloudy but light works fine.
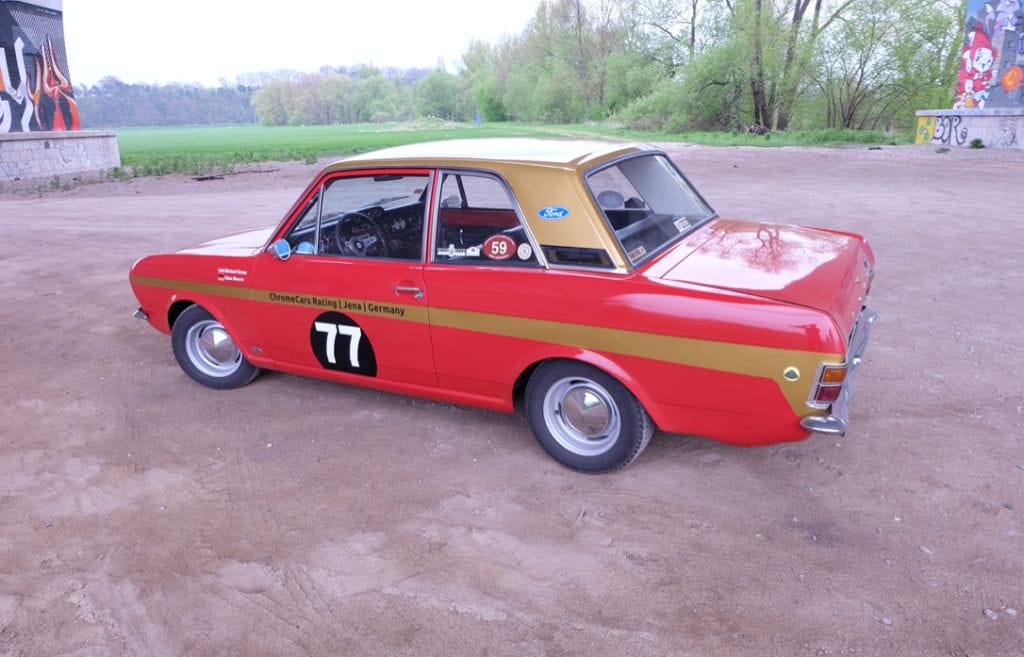
4. Location is key.
Find a quiet spot, with no distractions.
Keep the background simple, a wall, trees, a fence, or open space.
A side street, park or an empty parking lot is perfekt. There should be no visual distractions.
Keep in mind, you want to sell the car, not the background.
5. Start with the exterior.
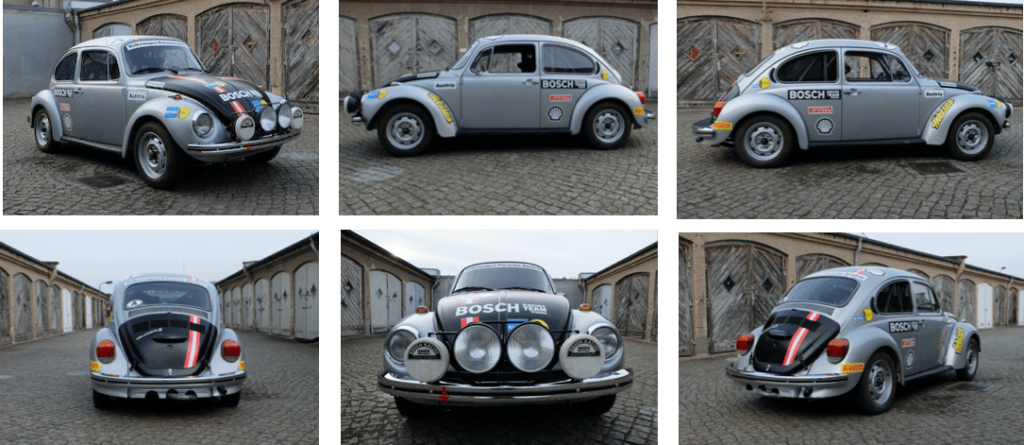
Imagine you are walking around the car. and list the pix in a logical row.
Leave some space around the car for cropping.
The best feature picture is a clear front 3/4 view.
Take the hight of doorhandles as center of the picture.
Shoot the driver and passenger sides, 3/4 views left and right of the front and rear, and straight shots of the front and rear.
Camera should remain at the same spot, so move the car, but not the camera.
6. The interior. Show it all.
photo Courtesy Roman Rätzke
Start with a comprehensive overview.
Open the door and photograph as much of the interior as you can; including seats, steering wheel, and dash.
Focus on the details; steering wheel, gauges, dash controls, pedals, headliner, carpets, door cards, glass, and other details your car has.
Vary your angle to reduce reflections.
7. Bad and ugly. Show it all. Be honest.
Never hide or “photoshop” the problems and ugly parts. Show the bad and ugly up front rather than waiting for discovery during the auction or after delivery. Digitally retouching photos and hiding flaws on the car is unethical. Obviously hidden problems do not lead to a fair trade.
Start with wide shots and get closer. Details matter. Shoot the condition of the interior and exterior like trim, rubber, glass, dash, seats, carpets, etc.
Show the engine, gearbox, etc. from as many angles as possible.
Shoot VIN, data plates, numbers and any stickers or labels. Also shoot the corners of the car. Show the inside of the trunk, remove everything including the spare tire.
Photograph the tool kit, extra equipment, and all the spares included.
8. Change your point of view.
Bend your knees, get up high, lie on the ground and look up at the car.
Move way back, get close.
To shoot the roof of the car; try to find an external staircase or use a ladder.
9. No filter policy.
Filters might be okay for Instagram but not for GetYourClassic.
Please do not use filters.
Keep the light source uniform.
Daylight is best.
Late afternoon (soft) sunlight, open shade or overcast daylight.
Whatever the light source is, keep it uniform.
10. Shoot titles, service records, reports, etc.
It’s important to get photos of documentation relevant to the vehicle.
For service record: lay them out like a fan and take shot from above. If you have personal contact information that could be seen, be sure to block it out before taking the photo.
Capture what accessories the car comes with: window sticker, extra keys, manuals, etc.
Finally, take a photo of the title. We will not post it publicly, but often times need it for vating purposes.